

Guest Sewist: Suzanne Todd (@suz.todd)
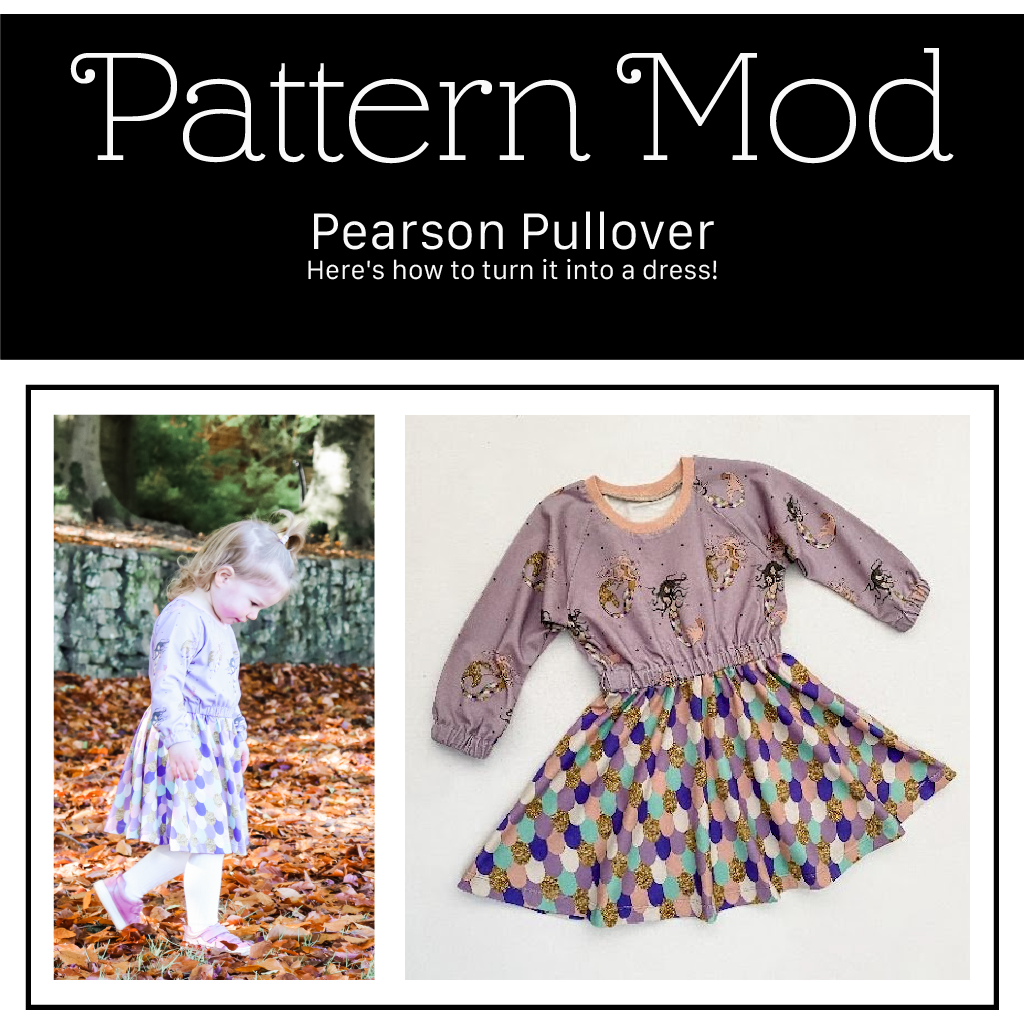
PDF Sewing Patterns being used for this Mod: Joy Side Split Tee

Hey ya’ll! Welcome to my very first blog for Rain City Pattern Company! I am excited to be here and share a super cool hack for the Joy Split Hem Tee.
To begin with you need to know that I live in SW Florida, so it’s hot all the time (or it seems that way at least); so, I prefer sleeveless over sleeved tees. I learned the hard way, that you can’t just eliminate the sleeve from a pattern and assume that the armscye opening will be correct. It won’t! Ask me how I know…I have burned through some fabric doing it!
Enter Rain City Pattern Company’s Joy Split Hem Tee into my life. LOVE the side tie and need it in my life, but it needed to be sleeveless. Well, not just sleeveless, but a more cut in tank style and a more fitted body. A cut in armscye tank is quite flattering on all body types, BTW. Stay with me and I will walk you right through the easy way to accomplish this.
Let’s get started!
Print and assemble the pattern omitting the sleeves.
My actual size should have been a S2c, but I wanted a more fitted top, so I narrowed it to somewhere between the S0c and the S1c lines. This is personal preference. This method will work no matter what size you choose to cut.
Armscye:
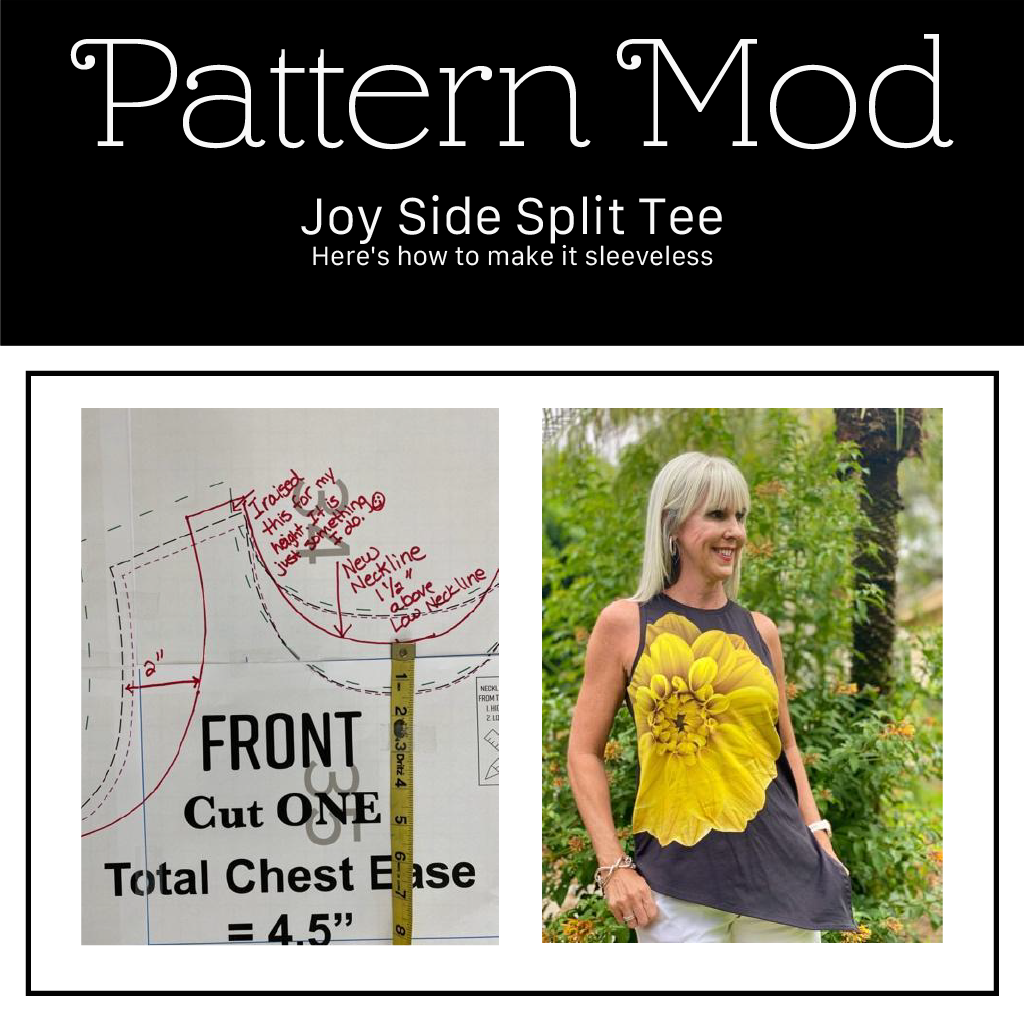
Narrow the armscye in about 2" over the entire opening, shown in red on photo. Yes, this narrows it in quite a bit, but hang on, we will be adding bands later that will fill in. How did I come up with this amount to narrow? Easy! I found a RTW tank in my closet that I liked and used the sizing for inspiration. You are welcome to do the same for yours. Maybe you like yours different. It’s all Good!

Neckline:
I chose to be somewhere between the high and low necklines on the front, about 1 ½” in between, shown in red on photo. I also raised the back, since my inspiration had it here, shown in red on photo. Your preference. This will work wherever you choose.
Notice that I raise my strap a bit, that’s just something I do for my height and how I like the armscye to fit. It was also the size of the tank I used as inspiration.
Do this for the front and back pieces.


Notice that I do a center seam down the back piece since I always add a Sway Back Adjustment and it works best for me with a center seam. That’s for another time though. LOL!
Now, just assemble the pattern per instructions. Easy peasy!
Oh, but wait! What about those unfinished armscye and neck openings?
Let’s add bands to them. Now, I am making an assumption that you have done bands before so I will quickly address them.
How long should they be?
Simple.
Measure your armscye opening and multiply it by .85.
Thus, giving you 85% of the opening length.
Measure your neckline and multiply it my .85.
Thus, giving you 85% of the opening.
Cut a 1 ¾" strip the length that you determined above.
- Sew the two short ends of each strip together to form one loop.
- Fold in half lengthwise and iron.
- Quarter the band and the opening and mark the points. Pin/clip the right sides together matching the marked points. Attach using your favorite stretch stitch, stretching only the band!
- Topstitch the seam towards the garment if desired. Sometimes I do and sometimes I do not; I feel it gives a bit sportier feel to things.

That’s it! I really like the way it fits now, and it is one of my go to patterns!
I sincerely hope you have loved this blog and will try the pattern modifications for yourself!
Feel free to reach out to me with any questions, I would love to help you! And definitely post your finished garment on the Rain City Facebook page for all to admire!